SSO 功能适用于 Enterprise 方案。
Okta
1
创建应用
在
Applications 中,点击使用 SAML 2.0 创建新的应用集成。2
配置集成
输入以下内容:
- 单点登录 URL(由 Mintlify 提供)
- 受众 URI(由 Mintlify 提供)
- Name ID Format:
EmailAddress - Attribute Statements:
Name Name format Value firstNameBasic user.firstNamelastNameBasic user.lastName
3
将您的 IdP 信息发送给我们
应用设置完成后,前往 Sign-On 选项卡,并将 metadata URL 发送给我们。
我们将基于这些信息在我们的端启用连接。
Google Workspace
1
创建应用
在 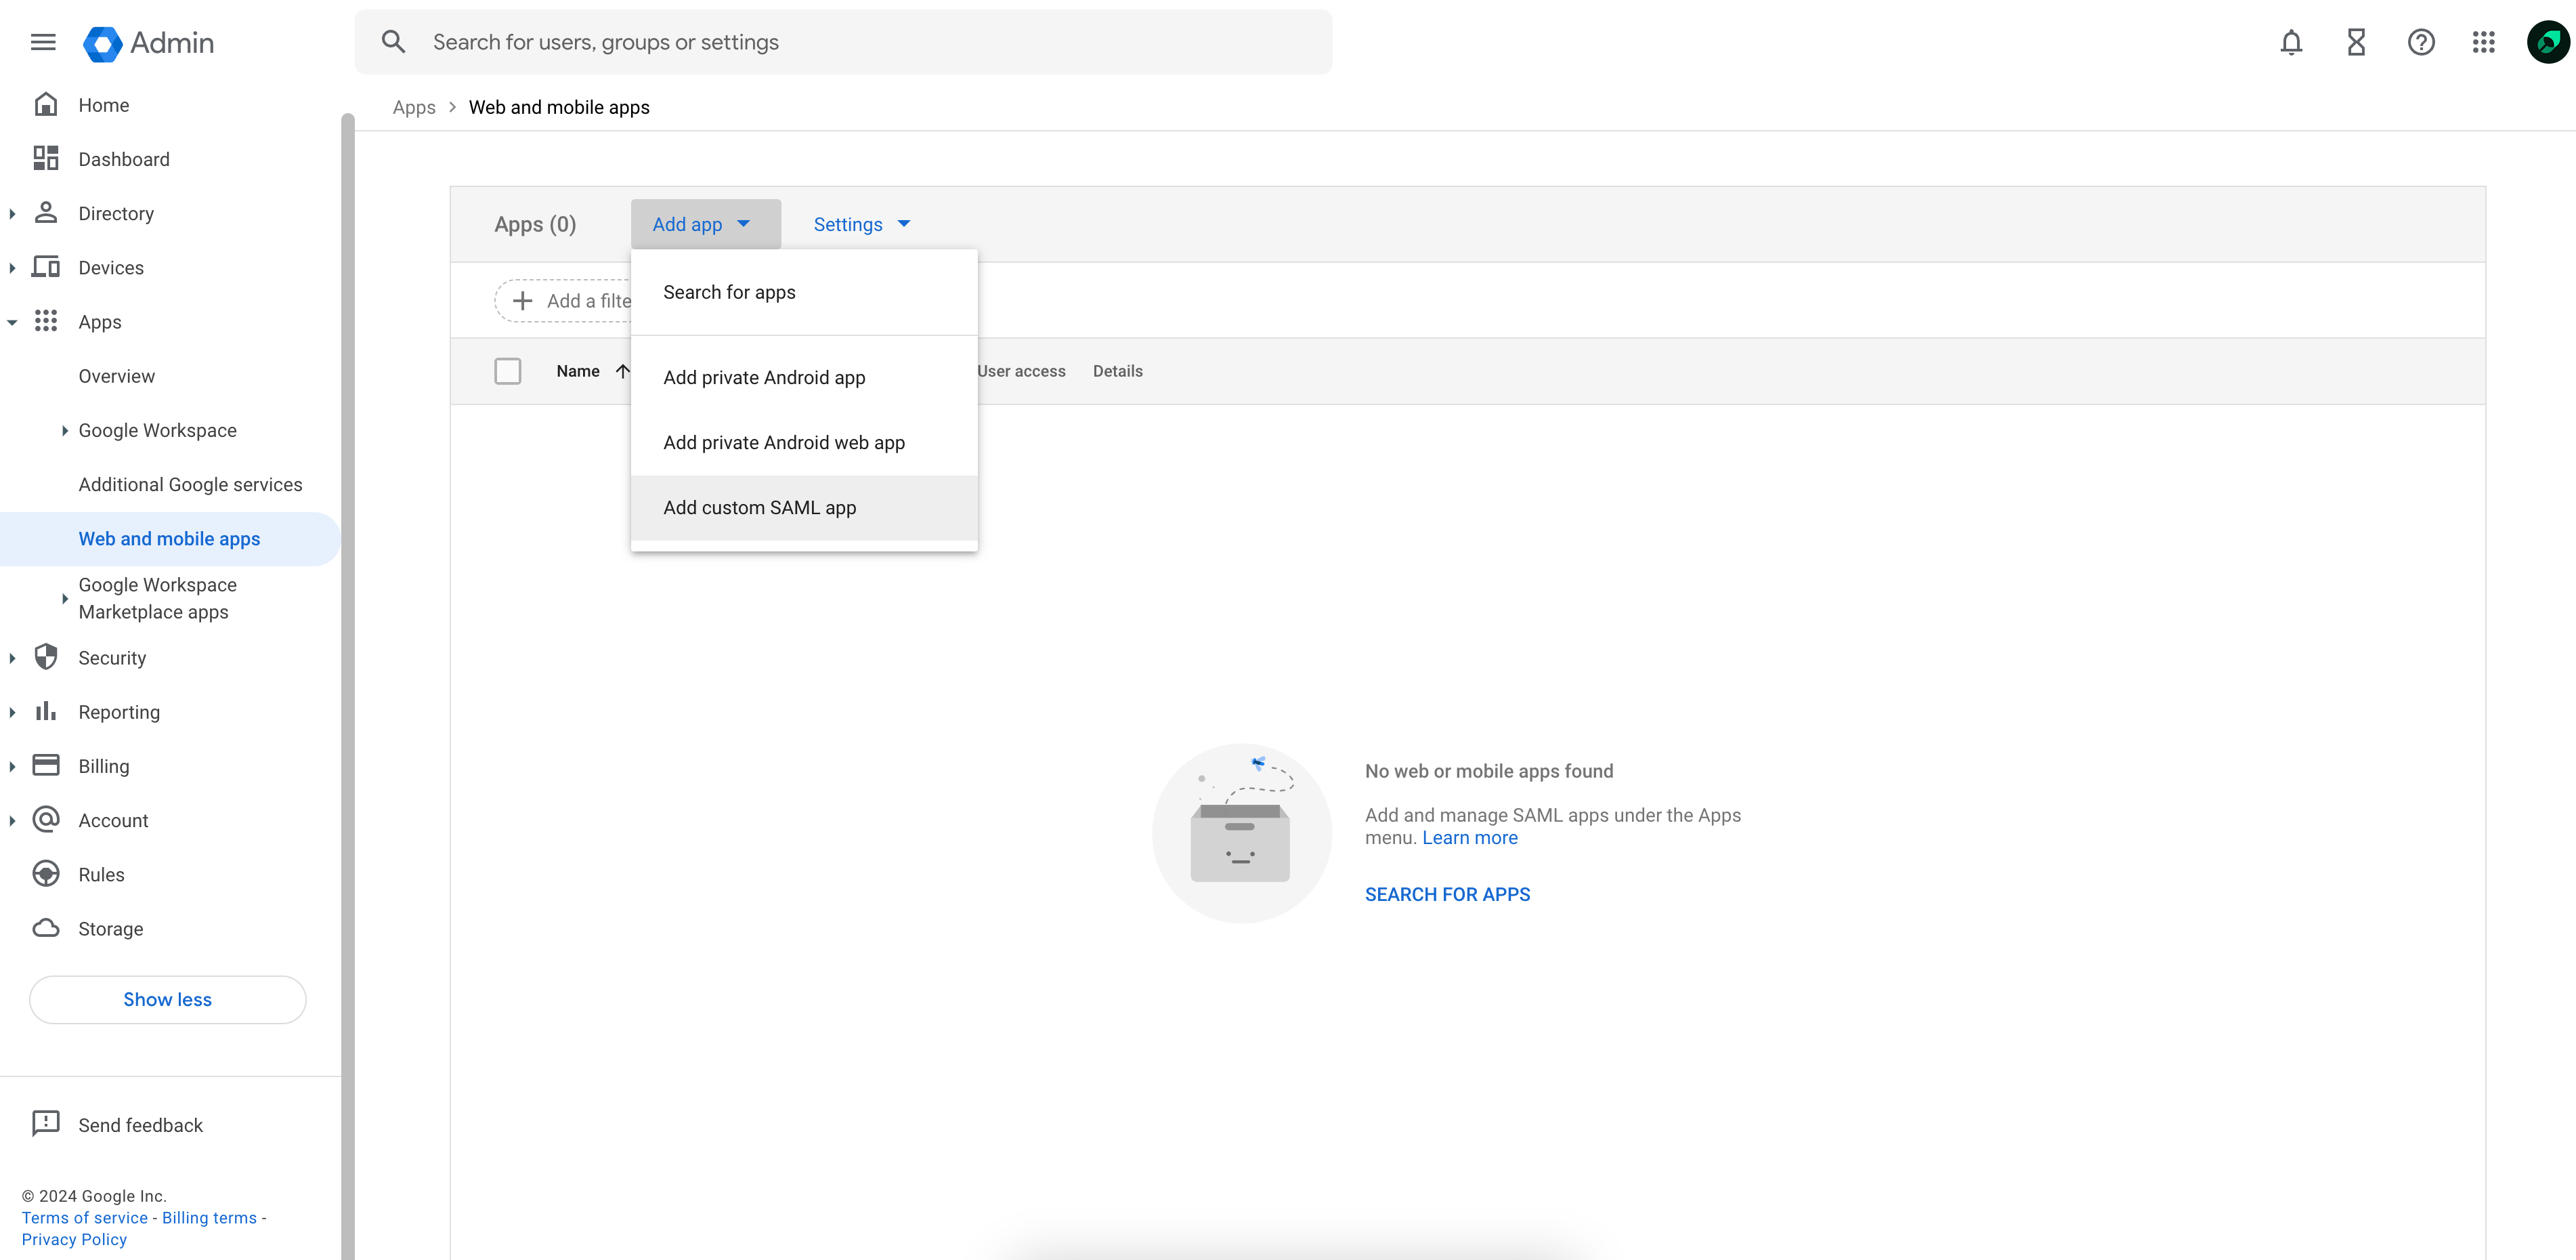
Web and mobile apps 中,从 Add app 下拉菜单选择 Add custom SAML app。2
向我们提供 IdP 信息
复制提供的 SSO URL、Entity ID 和 x509 证书,并发送给 Mintlify 团队。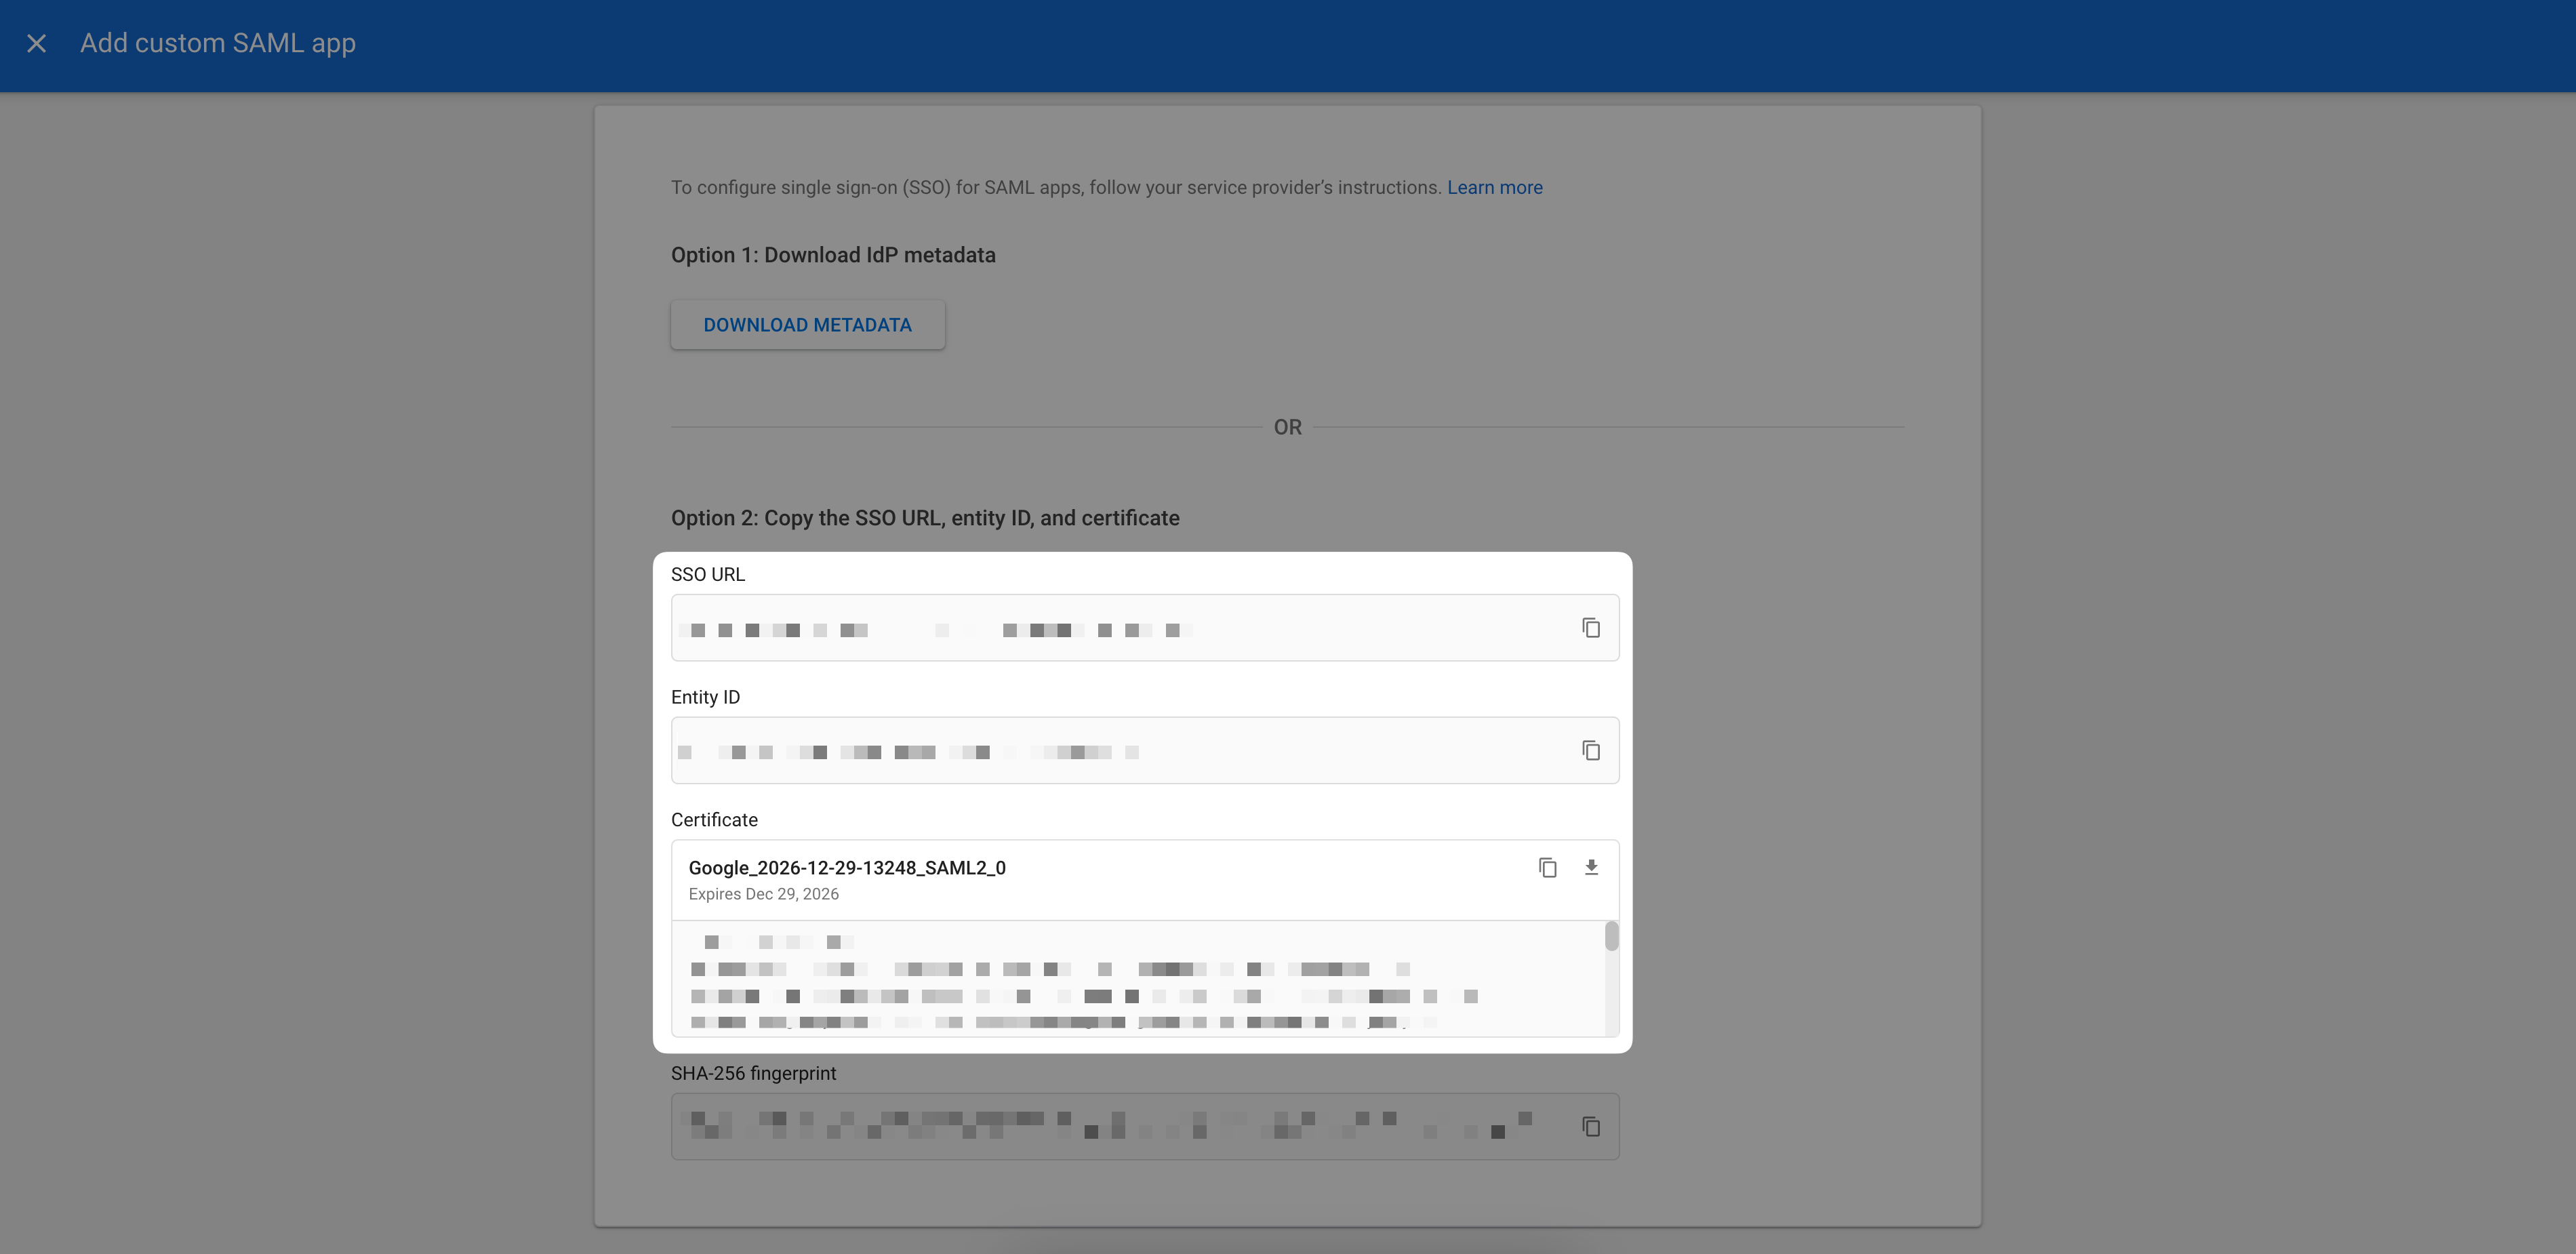
3
配置集成
在 Service provider details 页面,输入以下内容: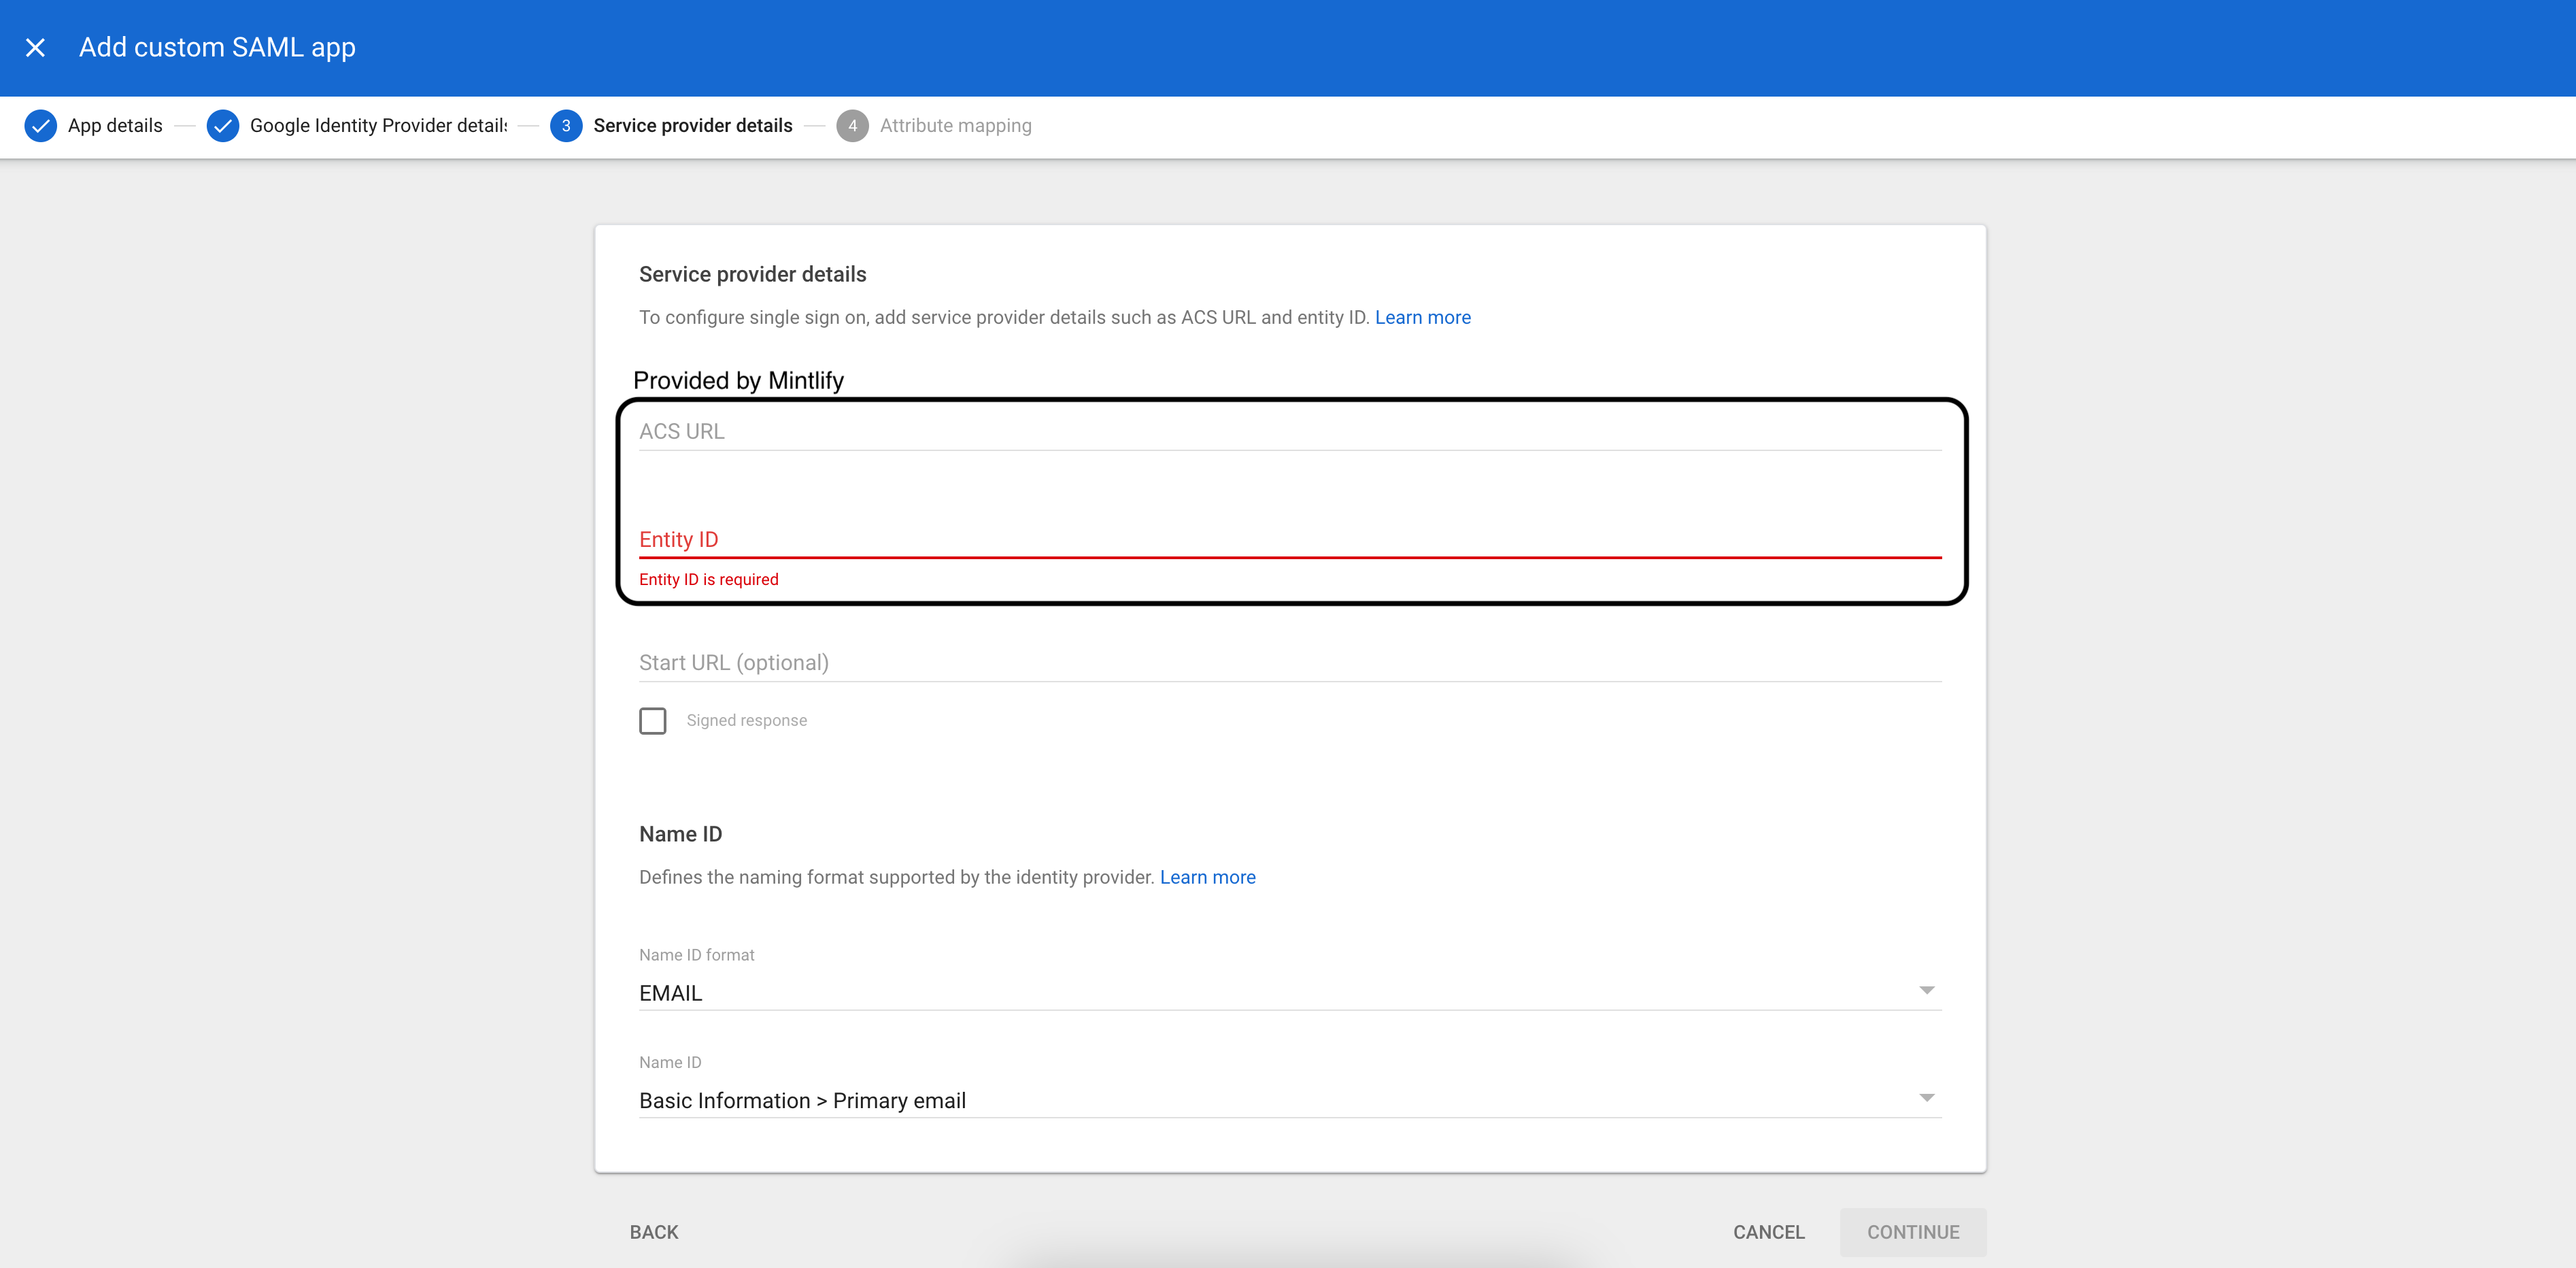
完成此步骤并将用户分配到该应用后,请告知我们的团队,我们将为您的账号启用 SSO!
- ACS URL(由 Mintlify 提供)
- Entity ID(由 Mintlify 提供)
- Name ID format:
EMAIL - Name ID:
Basic Information > Primary email
| Google Directory Attribute | App Attribute |
|---|---|
First name | firstName |
Last name | lastName |
Microsoft Entra
1
创建应用程序
- 在 “Enterprise applications” 下选择 New application。
- 选择 Create your own application,并选择 “Integrate any other application you don’t find in the gallery (Non-gallery)”。
2
配置 SAML
前往 Single Sign-On 设置页面并选择 SAML。在 “Basic SAML Configuration” 中输入以下内容:
- Identifier (Entity ID):Mintlify 提供的 Audience URI。
- Reply URL (Assertion Consumer Service URL):Mintlify 提供的 ACS URL。
3
配置 Attributes & Claims
编辑 Attributes & Claims 部分:
- 在 “Required Claim” 下选择 Unique User Identifier (Name ID)。
- 将 Source 属性更改为使用
user.primaryauthoritativeemail。 - 在 Additional claims 下创建以下声明:
名称 值 firstNameuser.givennamelastNameuser.surname
4
将你的 IdP 信息发送给 Mintlify
完成应用设置后,前往 “SAML Certificates” 部分,并将 App Federation Metadata URL 发送给我们。
我们会据此在我们端启用连接。
5
分配用户
在你的 Entra 应用中进入 “Users and groups”,添加应当能够访问你仪表板的用户。